
What Ingredients Do You Need for a Creamy Red Velvet Cheesecake with Oreo Crust?
Essential Ingredients for the Cheesecake Filling
To make a creamy red velvet cheesecake, you need key ingredients. Start with cream cheese and sour cream for that rich taste. Add sugar to sweeten it up. Eggs are crucial for binding. Use vanilla extract for a nice flavor boost. For the red velvet touch, use cocoa powder and red food coloring. These ingredients will create a smooth and vibrant filling that is hard to resist.
What to Include in the Oreo Crust
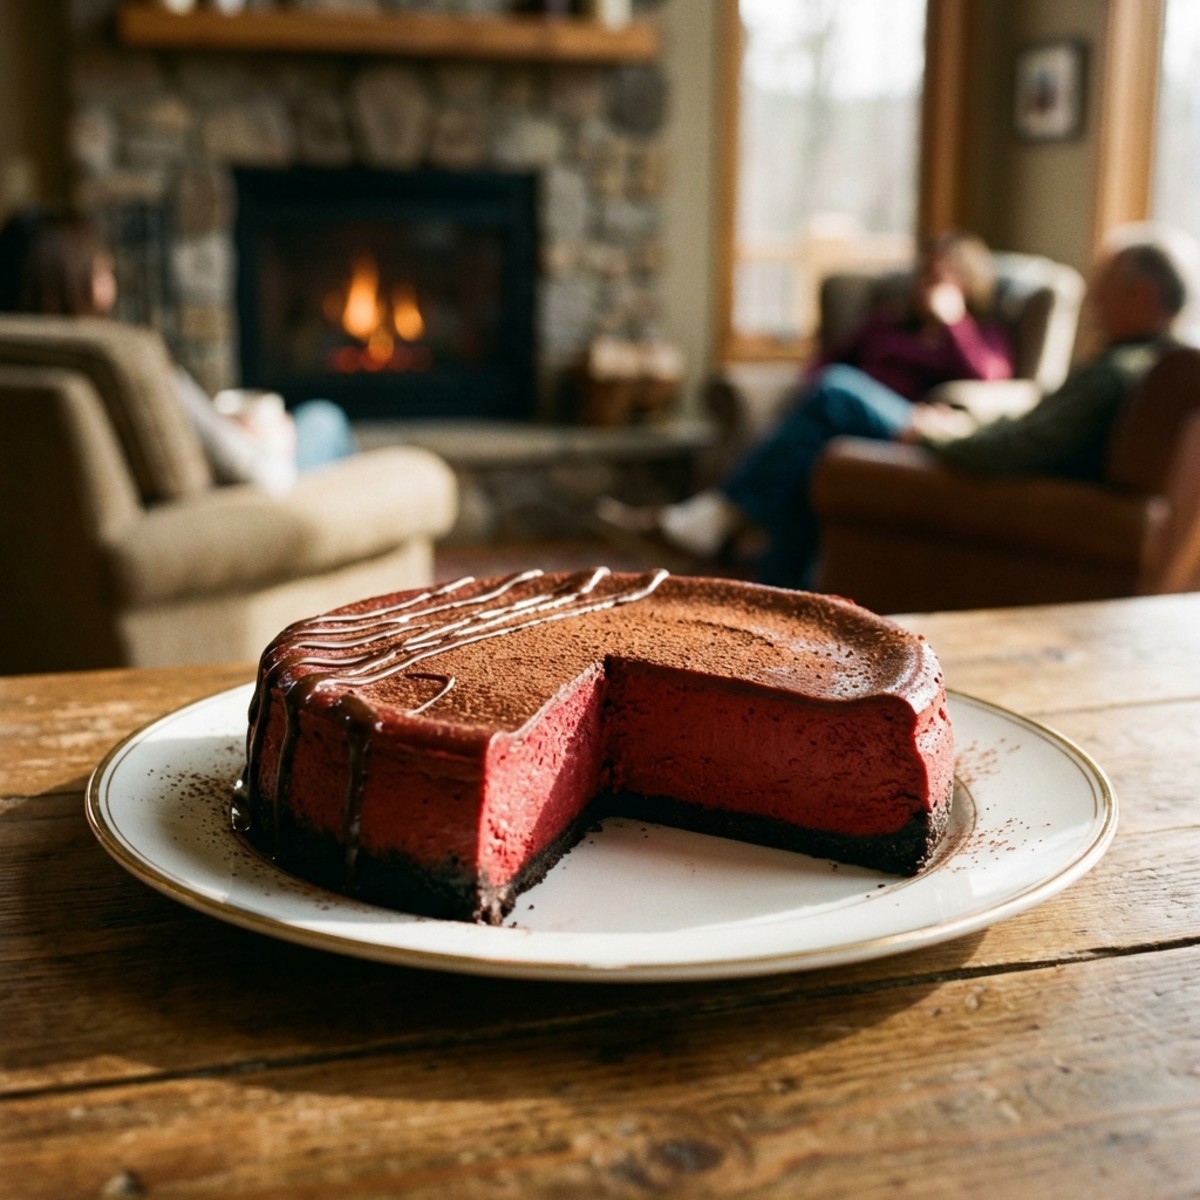
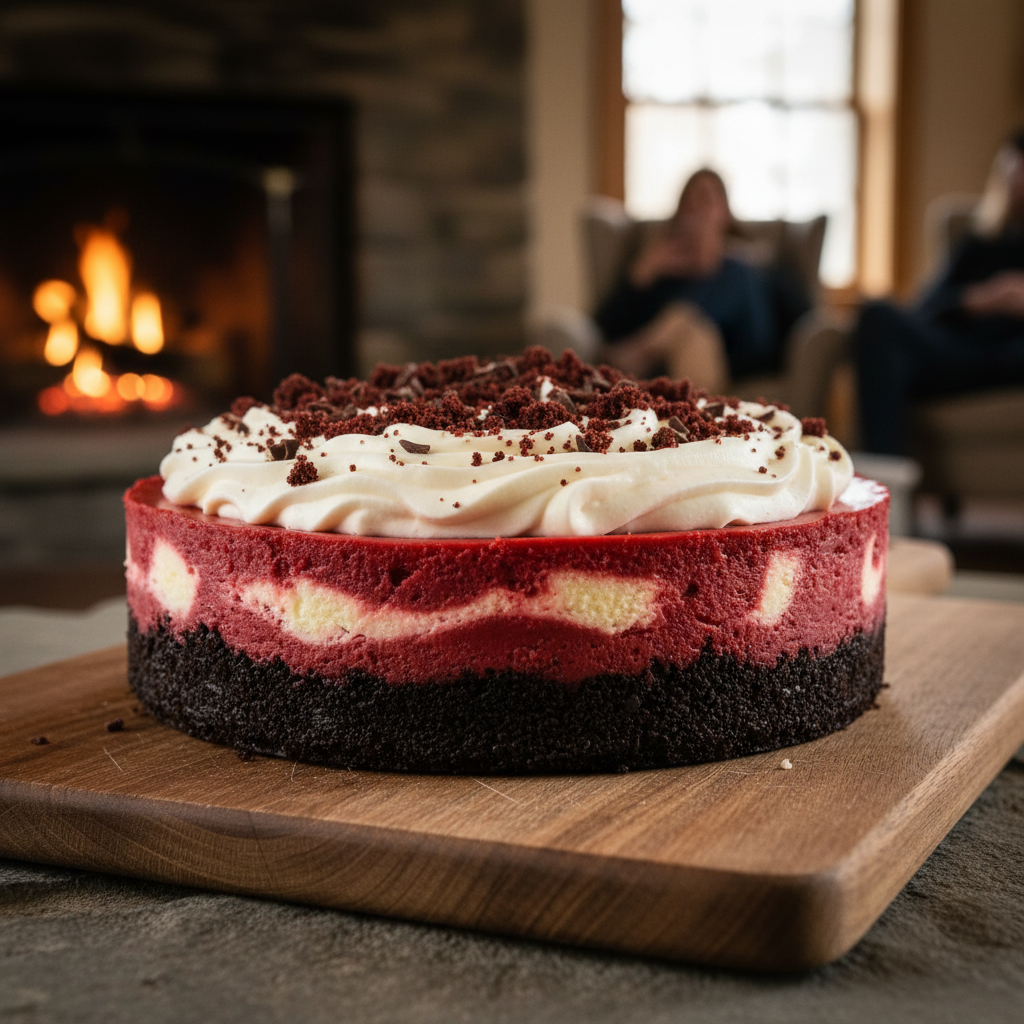
The Oreo crust is the star of this cheesecake. You need Oreo cookies and unsalted butter. Crush the cookies into fine crumbs. Mix these crumbs with melted butter. This mixture forms a tasty base. Press it into your pan firmly. This crust adds a crunchy layer that contrasts with the creamy filling. It’s simple yet makes a big impact.
Optional Add-ins and Flavor Enhancements
For a personal twist, consider add-ins. You might add mini chocolate chips for extra sweetness. A touch of almond extract can enhance the flavor. You can also fold in some whipped cream for lightness. These options help you create a unique red velvet cheesecake. Try different combinations to find what you love best.
How Do You Prepare the Oreo Crust for the Cheesecake?
Step-by-Step Instructions for Making the Crust
To make the Oreo crust, start by crushing about 24 Oreo cookies. You can use a food processor or place them in a bag and crush them with a rolling pin. Aim for fine crumbs, as this helps form a better crust.
Next, mix the crumbs with 5 tablespoons of melted butter. Stir until the mixture resembles wet sand. This butter will hold the crumbs together.
Then, press the Oreo mixture firmly into the bottom of a 9-inch springform pan. Use a flat-bottomed cup or your fingers to pack it down well. Make sure it covers the bottom evenly.
Finally, bake the crust in a preheated oven at 350°F for 10 minutes. This step helps the crust set and adds flavor. After baking, let it cool before adding the cheesecake filling.
Common Mistakes to Avoid When Preparing the Crust
One common mistake is not crushing the Oreos finely enough. If the crumbs are too large, the crust may not hold together. Make sure to crush them well!
Another mistake is not packing the crust tightly. If the crust is loose, it can crumble when you cut the cheesecake. Press it firmly for the best results.
Lastly, avoid skipping the baking step. Baking the crust helps it firm up and enhances the flavor. Skipping this step can lead to a soggy crust.
Alternatives to Oreo Crust for a Unique Flavor
If you want a different flavor, consider using graham crackers instead of Oreos. They provide a nice, sweet base for the cheesecake.
You could also try a chocolate cookie crust for a richer taste. Simply substitute chocolate cookies for the Oreos in the recipe.
For a nutty twist, crush some nuts, like almonds or pecans, and mix them with melted butter. This option adds a crunchy texture that pairs well with creamy cheesecake.
What Are the Steps to Make the Creamy Red Velvet Cheesecake?
Mixing the Cheesecake Batter: Tips for Creaminess
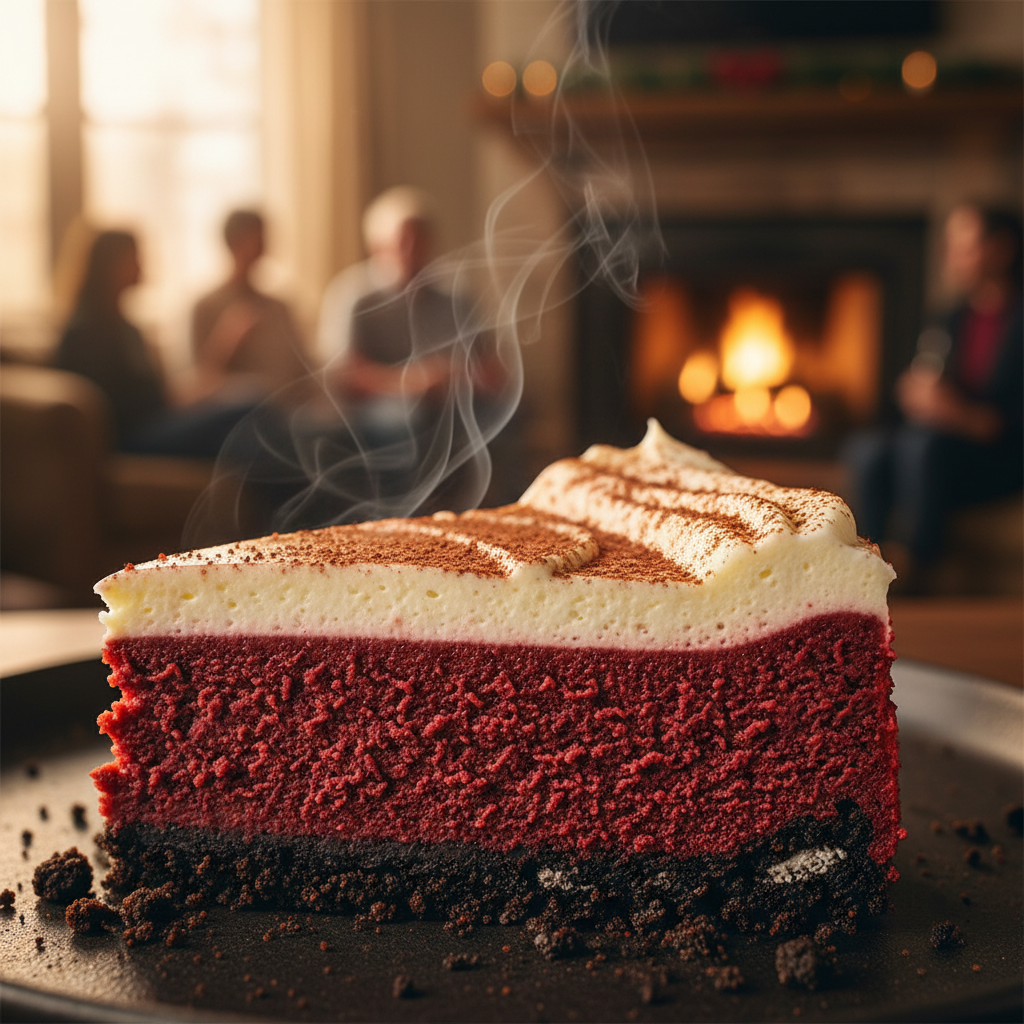
To make creamy red velvet cheesecake, start with room temperature cream cheese. Cold cream cheese can lead to lumps. Mix the cream cheese and sugar until smooth. Then, add eggs one at a time. This helps keep the batter fluffy. Don’t forget to add buttermilk and vanilla extract. These ingredients enhance the flavor and add moisture. For red velvet color, use cocoa powder and red food coloring. Aim for a deep red hue, but don’t overdo it. You want a balanced taste, not just color.
Baking Techniques for a Silky Texture
Baking your cheesecake in a water bath is key. This method prevents cracks and keeps it moist. Wrap your springform pan in foil to avoid water seepage. Place the pan in a larger pan filled with hot water. Bake at 325°F (160°C) for even cooking. It’s best to rotate the pan halfway through. This ensures all parts bake evenly. You’ll know it’s done when the edges are set, but the center still jiggles slightly.
How Long to Bake and Cool the Cheesecake
The baking time for cheesecake is usually between 60 to 70 minutes. After baking, turn off the oven but leave the door ajar. Let the cheesecake cool in the oven for an hour. This gradual cooling helps prevent cracks. Once cooled, chill it in the fridge for at least four hours. Overnight is even better! This resting time allows the flavors to meld. Your creamy red velvet cheesecake will taste even better when served the next day.
How Can You Enhance the Presentation of Your Cheesecake?
Best Toppings for a Red Velvet Cheesecake
Toppings can make or break your cheesecakes look. For a red velvet cheesecake, cream cheese icing is a must. It adds a smooth finish and complements the rich flavor. You can also use white chocolate shavings for a sweet touch.
Fresh berries like raspberries or strawberries add color and contrast. Their tartness balances the sweetness. Crushed Oreos sprinkled on top also boost the chocolate flavor from the crust. I love using edible gold leaf for a fancy touch.
Ideas for Serving and Garnishing
Serve your cheesecake on a nice platter. A simple white plate lets the colors pop. You can slice it into neat wedges for easy serving. Pair each slice with a small dollop of whipped cream for fun.
Consider adding a drizzle of chocolate or raspberry sauce around the plate. This adds a splash of color and makes it more eye-catching. Using a fork to create swirls with the sauce looks beautiful.
Creative Presentation Techniques for Special Occasions
For holidays or parties, think outside the box. You can place small flags on top of each slice for a festive vibe. Another idea is to use themed cookie cutters to shape your slices.
Layered desserts can be fun, too. You can make mini cheesecakes in jars. This gives each guest their own treat and looks cute. Don’t forget to use creative serving utensils to enhance your desserts appeal.
What Are Some Common Challenges When Baking Cheesecake and How to Overcome Them?
How to Prevent Cracks in Your Cheesecake
Cracks often form due to sudden temperature changes. To avoid this, bake your cheesecake in a water bath. The steam keeps the heat steady and moist. This is key for a creamy red velvet cheesecake. Another tip is to mix the batter gently. Over-mixing adds air, which can lead to cracks. Also, let the cheesecake cool slowly. Open the oven door slightly after baking to let it cool gradually.
Troubleshooting Common Cheesecake Issues
If your cheesecake is too dense, you may have overbaked it. Check the baking time closely. The center should still jiggle slightly when done. If it tastes too sweet, reduce sugar in your next batch. For a grainy texture, make sure your cream cheese is at room temperature. This helps it blend smoothly. Remember, the right ingredients matter for a perfect creamy texture.
Storing and Reheating Leftover Cheesecake Safely
Store leftover cheesecake in the fridge. Cover it tightly with plastic wrap or a lid. This keeps it fresh and prevents it from drying out. If you want to freeze cheesecake, slice it first. Wrap each piece in plastic wrap, then foil. This helps avoid freezer burn. To reheat, let it thaw in the fridge overnight. Enjoy your creamy red velvet cheesecake the next day without losing its flavor!
How Can You Customize Your Cheesecake Recipe for Different Occasions?
Variations on the Classic Red Velvet Cheesecake
You can make your creamy red velvet cheesecake stand out. Try mixing in different flavors. Add white chocolate chips for a sweet twist. You can also use dark chocolate for a richer taste. Swirl in some raspberry or cherry sauce for a fruity touch. Each variation brings a unique flavor profile to your cheesecake.
Ideas for Holiday and Seasonal Themes
Make your cheesecake match the season. For Christmas, add crushed peppermint to the batter. Top it with red and green sprinkles. For Halloween, use orange food coloring and top with spooky decorations. You can also add pumpkin spice for a fall flavor. These touches create exciting seasonal dessert ideas.
Adapting Recipes for Dietary Preferences (Gluten-Free, Vegan)
Need a gluten-free cheesecake? Use gluten-free Oreo cookies for the crust. For a vegan version, swap cream cheese for cashew cream. Use coconut cream for a rich texture. These adjustments let everyone enjoy your dessert. Each adaptation keeps the flavor while meeting dietary needs.
